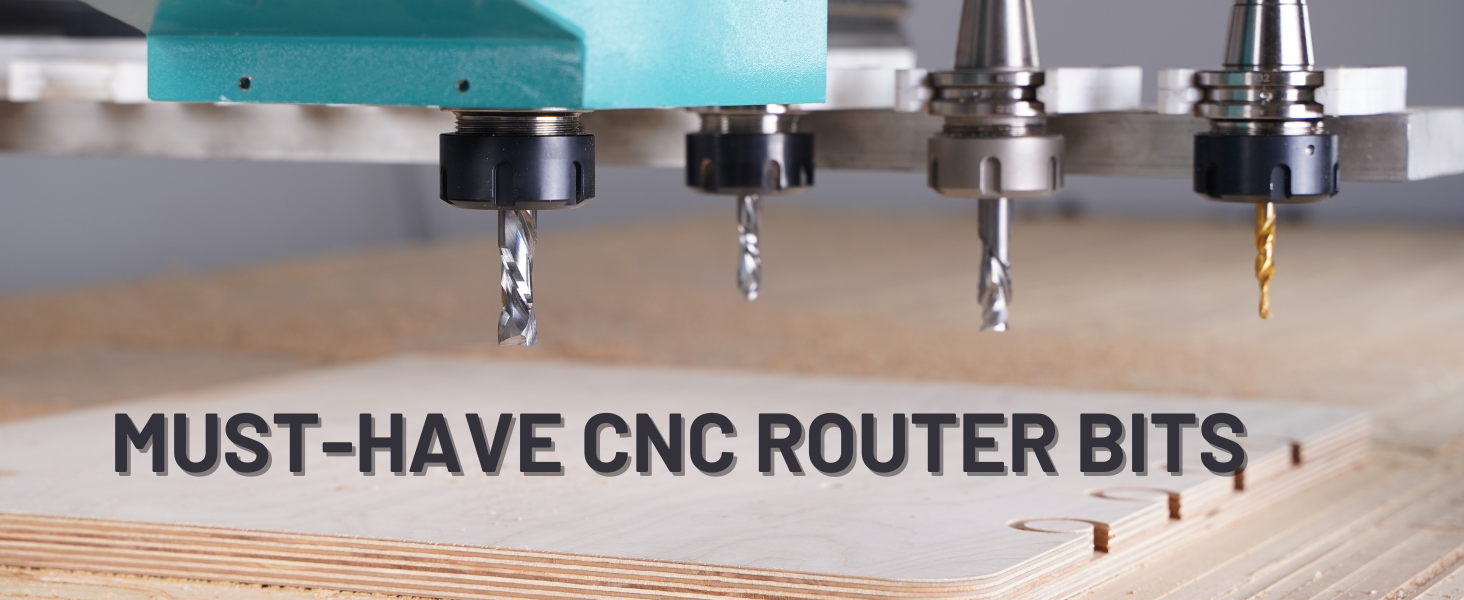
Today, we're delving into the rotation style of spiral router bits - the Up-cut, Down-cut, and Compression router bits. Understanding which style to use can make a huge difference in the quality of your projects.
Downcut Bits: For a Flawless Top Surface

- Downcut bits are your go-to for projects where a clean top surface is crucial, like in non-through pockets. They cut from the surface down, ensuring a smooth top edge with minimal fraying or chipout, unlike what you might experience with an Upcut bit.
- However, Downcut bits aren't ideal for through cuts as they tend to leave a rough bottom edge. The chips are forced downward, compacting into the cut, which can be problematic in deeper cuts. This compaction causes the bit to re-cut the same chips, generating excess heat and accelerating wear.
Upcut Bits: Maximizing Chip Evacuation

- Upcut bits are perfect for projects requiring a clean bottom surface or efficient chip removal in deeper cuts. Their design pulls wood fibers up and out, ensuring maximum chip evacuation. This might result in some frayed edges on the top surface, but that's often a quick fix with a bit of sanding.
- The efficient chip removal allows for faster feed rates and reduces heat buildup, prolonging the bit's life. Plus, you get a clean bottom edge, similar to the clean top edge provided by a Downcut bit.
Compression Bits: The Best of Both Worlds

- Compression router bits combine Upcut and Downcut grinds, offering a clean finish on both the top and bottom surfaces of the cut. They're ideal for single-pass cuts but require careful handling.
- To achieve the desired finish, start your cut below the Upcut portion of the bit. Techniques like ramping in and leading in help prolong the bit's life and ensure a clean finish throughout.
- While versatile, Compression router bits aren't always the universal solution. They might not be suitable for shallow pockets or very deep cuts where an Upcut bit's superior chip evacuation is needed. Also, smaller CNC machines might struggle with the depth required for effective use of Compression router bits.
Another video by Jonathan Katz-Moses that explains it in detail:
How to tell the difference between upcut & downcut
If you ever lose track of whether a bit is a down-cut or up-cut, here's what to do.
- Hold the bit by the shank with the blade tip facing downward.
- Rotate the bit clockwise, like the way a router spins.
- If the flutes seem to spiral downward, it’s a downcut bit. If they appear to spiral upward, it’s an upcut bit.
QUICK LIST: WHICH SPIRAL BIT TO USE
Here’s a rough list to help you decide which bit to use in which situation.
DOWN-CUT ROUTER BITS
- Clean Top Surface Cuts: Perfect for cutting materials like plywood or veneers where a splinter-free top edge is essential.
- Shallow Grooves and Engravings: Ideal for creating precise surface details without chipping or tearing the top layer.
- Laminates and Veneers: Cuts Excellent for working on laminated surfaces, ensuring smooth finishes and preventing delamination.
UP-CUT ROUTER BITS
- Efficient Chip Removal: Ideal for deep cuts or when working with dense materials, as they pull chips upward and away from the workpiece..
- Clean Bottom Edges: Great for ensuring a smooth, tear-free finish on the underside of the material
- Cutting Hardwoods and Plastics: Perfect for materials that require strong chip evacuation to prevent overheating or clogging.
COMPRESSION ROUTER BITS
- Tear-Out Free Cuts: Ideal for plywood and laminates, as they combine upcut and downcut flutes to produce clean edges on both the top and bottom surfaces.
- Full-Depth Grooving: Perfect for projects requiring deep cuts where maintaining edge quality on both sides is crucial.
- Panel and Cabinet Work: Excellent for cutting sheet goods like MDF or particleboard, ensuring smooth finishes and precise results.


